Did you know 80% of homes have spots perfect for DIY floating shelves? These shelves are great for organizing and decorating. They work well in many rooms, like bathrooms and mudrooms. This guide will teach you to make stylish, affordable floating shelves that improve your space.
DIY floating shelves are perfect for adding storage or showing off your decor. They make rooms look bigger and cleaner. Plus, they’re simple to make, great for both newbies and seasoned DIYers.
Introduction
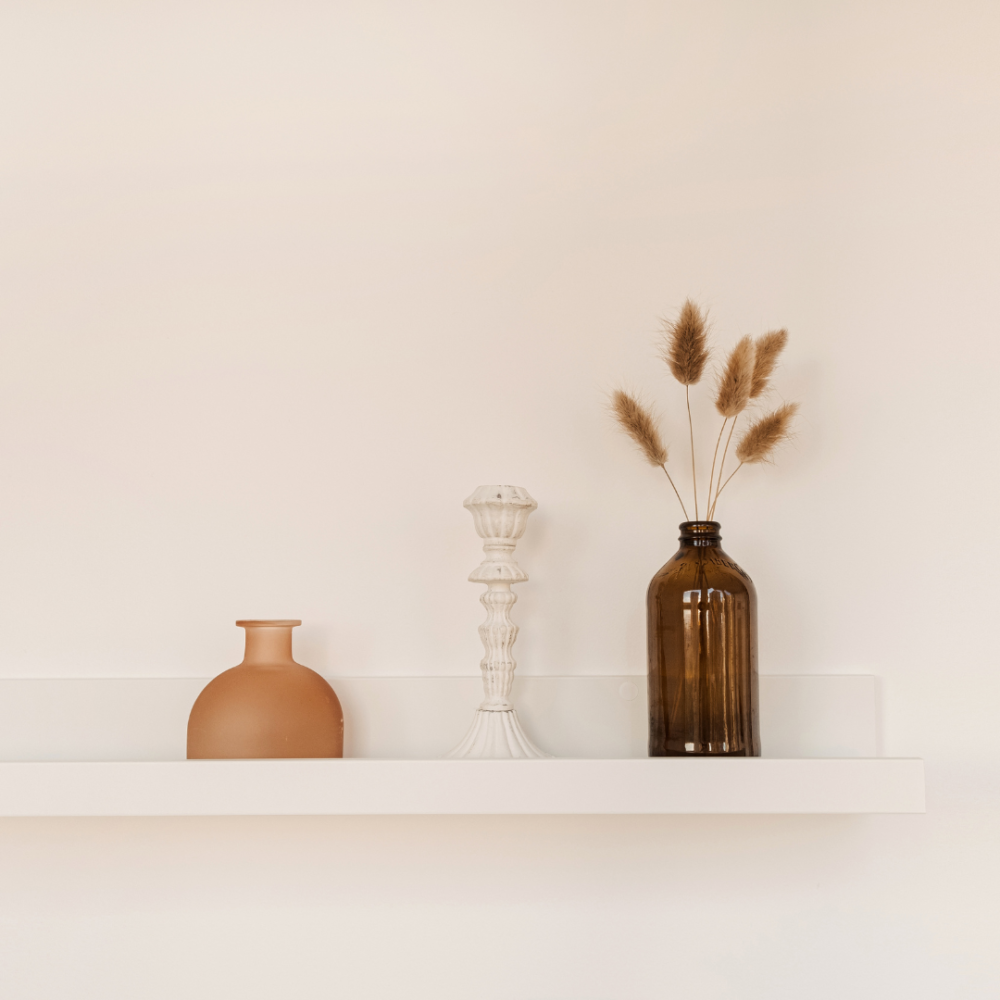
Floating shelves are a favorite among homeowners who want a clean, minimalist look. They seem to float on the wall, making them a stylish way to display items. Plus, you can make them fit your home perfectly.
Why Floating Shelves?
Floating shelves are great because you can make them your own. You can pick the size, shape, and finish that matches your home’s style. This way, you get a unique look that shows off your taste.
Benefits of Building Your Own Floating Shelves
- Cost Savings: Making your own shelves can save you money. It’s cheaper than buying them.
- Customization: You can design them to fit your space exactly. It’s all about your style.
- Sense of Accomplishment: Creating your own shelves is rewarding. You’ll feel proud of what you’ve made.
- Versatility: You can use them anywhere in your home. They’re perfect for showing off different items.

Choosing DIY floating shelves can really change your home. It’s a way to add a personal touch without spending a lot. Plus, you’ll get to enjoy the feeling of creating something special just for you.
Materials Needed for DIY Floating Shelves
Wood and Boards:
- 2×2 boards: These are used for building the inner support frame of the floating shelf.
- ½” plywood: This will be used for the surface of the shelves. You’ll need enough to match the size of the shelves you’re building (e.g., 10″ x 36″).
- 1×2 boards: These are used as side supports to frame the edges of the shelf.
- 1×3 boards (optional): If you want extra reinforcement for a thicker look, you can use 1×3 boards to build a deeper shelf.
Fasteners:
- Pocket hole screws: For securing the boards together with a strong, hidden connection.
- Brad nails or wood screws: To attach the supports and secure the frame. Use a nail gun if you prefer quick assembly.
- Wood glue: To ensure a strong bond between all pieces.
Finishing Supplies:
- Wood stain or paint: Customize the color and look of the shelves to match your decor.
- Sealant (polyurethane): To protect the wood surface from wear and tear.
Tools:
- Miter saw or circular saw: For cutting the wood to the correct size.
- Drill and driver bit: For installing the pocket hole screws and attaching the shelves to the wall.
- Pocket hole jig (e.g., Kreg Jig): To create the holes needed for hidden screws.
- Stud finder: For locating the studs in the wall.
- Level: Ensures your shelves are installed straight.
- Measuring tape: To measure your wood pieces and shelf placement.
- Clamps: To hold pieces in place while gluing or assembling.
Mounting Hardware:
- Floating shelf brackets: Heavy-duty brackets to secure the shelf to the wall.
- Toggle bolts (if needed): If you can’t hit studs directly, toggle bolts provide extra strength for wall mounting.

Step-by-Step Tutorial: How to Build DIY Floating Shelves on a Budget
Building your own floating shelves is an easy and cost-effective way to enhance your home decor. Follow these detailed steps to create sturdy and stylish shelves for any room in your home.
Step 1: Measure and Plan the Shelf Size
Before you start, decide where the shelves will go and how large you want them to be. Common dimensions for floating shelves are around 10″ deep by 36″ wide.
- Measure the wall space where you want to install the shelves.
- Make sure the shelves will be wide enough to hold your desired items but not so deep that they look bulky or unstable.
Step 2: Cut the Wood for the Shelf and Supports
Using your measurements:
- Cut ½” plywood for the shelf surface. A good standard size would be 10″ deep by 36″ long, but adjust based on your needs.
- Cut two 1″ x 2″ wooden boards (or furring strips) to act as the back and side supports. These will reinforce the shelf’s structure.
You can use a miter saw or a circular saw for precise cutting.
Step 3: Assemble the Shelf Frame
To build the shelf frame:
- Attach the 1″ x 2″ boards along the edges of the plywood to form a rectangular frame. These will serve as the supports for the shelf.
- Use wood glue and brad nails or wood screws to secure the boards together, ensuring the edges are flush and even.
- Let the glue dry completely.
Step 4: Sand and Finish the Wood
Once the shelf and supports are assembled:
- Sand all surfaces of the wood using medium-grit sandpaper to smooth rough edges and prep for finishing.
- Apply your choice of wood stain or paint to match your home decor. Follow with a protective sealant (such as polyurethane) to ensure durability.
Allow the finish to dry completely before proceeding to installation.
Step 5: Locate Wall Studs and Mark Bracket Positions
Properly securing your floating shelves is crucial for stability.
- Use a stud finder to locate the wall studs where you want to hang the shelves. Mark their positions with a pencil.
- For added support, plan to mount the shelf brackets directly into the studs. If the studs don’t align with your desired shelf placement, consider using toggle bolts for additional security.
Step 6: Install the Floating Shelf Brackets
Now that you’ve marked the studs:
- Place the floating shelf brackets on the wall, using a level to ensure they are perfectly straight.
- Mark the screw holes through the bracket onto the wall.
- Drill pilot holes into the studs (or insert wall anchors if needed), and then secure the brackets to the wall using heavy-duty screws.
For a standard 36″ shelf, you may need two or three brackets, spaced evenly.
Step 7: Attach the Shelves to the Brackets
With the brackets securely mounted:
- Carefully position the assembled shelf onto the brackets, ensuring a snug fit.
- Use wood screws to attach the shelf from underneath, securing it firmly to the brackets.
- If the shelf is wobbling, you can add small L-brackets underneath for extra stability.
Step 8: Final Touches and Styling
Now that your floating shelves are installed:
- Check for levelness and adjust if necessary.
- Add any final touches like additional coats of stain or paint, or decorative touches like trim molding.
Your DIY floating shelves are now ready to display your decor, books, or kitchen essentials!
With these easy step by step diy floating shelf instructions, you can make custom shelves for your space. Remember to take your time, measure well, and use the right tools and materials for a sturdy and beautiful result.
Tips for Customization
Creating your own DIY floating shelves lets you personalize them to fit your style and home decor. You can choose from modern, farmhouse, or rustic looks. There are many ways to make your shelves match your desired aesthetic.
Paint or Stain Options
First, think about the finish you want for your shelves. Painting them in a color that goes with your decor is a smart choice. You can pick from white to bold colors. Or, staining the wood in different tones can give a warm, natural look.
Customizing for Different Decor Styles
- For a modern look, go for shelves with clean lines and a simple design.
- For a farmhouse style, try shelves with a distressed or whitewashed finish. Add rustic accessories for a complete look.
- For a rustic feel, choose shelves with rough-sawn or live-edge wood. They bring a natural, earthy vibe to your space.
Don’t be afraid to try different finishes, materials, and setups. This way, you can customize diy floating shelves that show off your personal style. With creativity, your DIY shelves can become a stylish part of your home.

Cost Breakdown
Building your own cost of diy floating shelves is a smart and fun project. It lets you make affordable floating shelves that match your style and space. Let’s look at the cost breakdown and see how much you can save by making your own shelves.
How Much Will It Cost?
To build three budget-friendly shelves, you’ll need about $45 worth of materials. This means each shelf will cost around $15. Compared to buying similar floating shelves at a store, you can save a lot. Store shelves can cost from $74.55 for basic MDF to over $393 for premium, customized designs.
Savings Compared to Store-Bought Shelves
- The cost of diy floating shelves can be up to 80% less than what you’d pay at a store, depending on your choices.
- By making your own shelves, you can customize them to fit your decor perfectly. This adds a personal touch.
- DIY floating shelves also let you create something unique for your space. And you’ll save money compared to buying pre-made shelves.
DIY floating shelves are a great choice for adding stylish storage and display space. They’re affordable and let you customize to your heart’s content.
Final Thoughts
Why DIY Floating Shelves Are Worth It
Building your own DIY floating shelves is a fun and useful project. You can make them fit your style and use space better. Plus, it saves money compared to buying pre-made shelves.
There’s a big reward in making your own shelves. You get to use your creativity and show off your DIY skills. Your shelves will not only be useful but also a reflection of your personal taste.
Whether you’re new to DIY or experienced, this article has you covered. It guides you through the process with clear steps and the right tools. You can make your home look great with these easy-to-make shelves.
FAQ
What are the benefits of building your own DIY floating shelves?
Building your own DIY floating shelves lets you customize them to fit your space perfectly. You can choose the size, shape, and finish. Plus, you save a lot of money compared to buying them.
What materials are needed to create DIY floating shelves?
To make DIY floating shelves, you’ll need a few basic materials. These include 2×2 boards, 1/2″ thick plywood, and 1×3 boards or 1/4″ thick boards. You’ll also need pocket hole screws, brad nails, and tools like a miter saw, jigsaw, and drill.
Can I customize the appearance of my DIY floating shelves?
Yes, you can definitely customize your DIY floating shelves. The article shares tips and ideas. You can paint or stain them to match your style and home decor.
How much will it cost to build my own DIY floating shelves?
The article estimates the cost to be around for three shelves. That’s about per shelf. This is a big savings compared to buying similar shelves at a store.
Why are DIY floating shelves a worthwhile project?
DIY floating shelves are worth it for several reasons. They let you customize them to your needs. They also save money and give you a sense of pride and accomplishment. Plus, you get to create unique home decor pieces.